Save yourself a stack of money by raising your own veggies for your vegetable garden from seed. Here are my quick tips to help you succeed growing from seed.
I have so many people say to me that they are terrible at raising things from seeds. I get it, it can be pretty easy to kill seeds if the conditions aren't right. Too much water, too little water. Too much sun, not enough sun. In this post I wanted to share some tips for seed raising.
Pros of seed raising
The benefits of raising seeds aside from it being more cost effective are you get to grow stuff you just can’t find, this is particularly the case for us in the subtopics and cool season crops - some varieties will never get to a point of harvest because our season is so short (I am looking at you brussel sprouts and that purple sprouting broccoli). The other bonus if you’re growing heirloom varieties is you can save the seeds yourself so you’re not having to buy them all the time - which saves loads of money in the long run.
Pros of raising seeds for your veggie patch
- Cost effective
- Grow unusual things
- Grow relevant things
- If you grow heirloom varieties you can save the seeds and save even more money!
Cons of seed raising
The downside is it can be challenging, especially if you are time poor. Some seeds need daily attention so if you’re not someone who can check on them regularly then seed raising may not be the best for you. You have to get the moisture right and nurture the little babies. If they dry out they will die or if they get too wet they can rot. Another issue is being organised enough to be planting at the right time. Buying seedlings can certainly give you a head start.
Cons of seed raising:
- Labour intensive
- You have to be organised
- Things can easily go wrong
Choosing what seeds to start with
If you’re struggling with growing from seed some plants I’d suggest you start with include:
- Radish - germinates super fast, plant direct
- Rocket - germinates super fast, plant direct
- Asian greens - germinates super fast, plant direct
- Lettuce - Resilient little plants
- Tomatoes - Resilient little plants
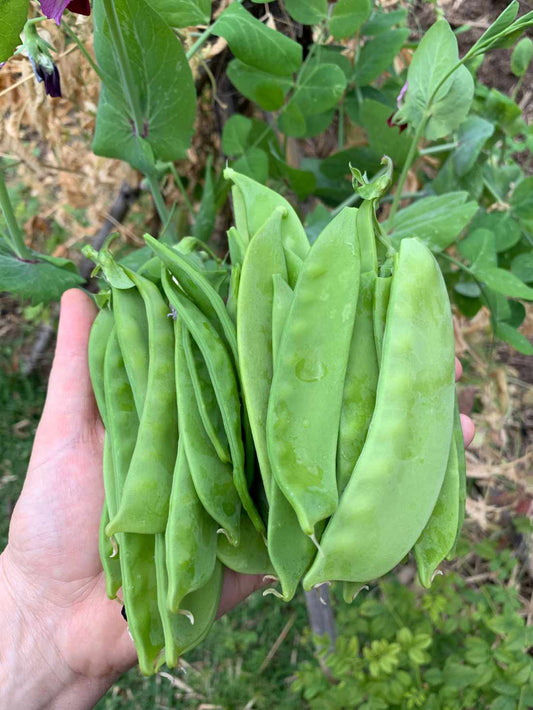
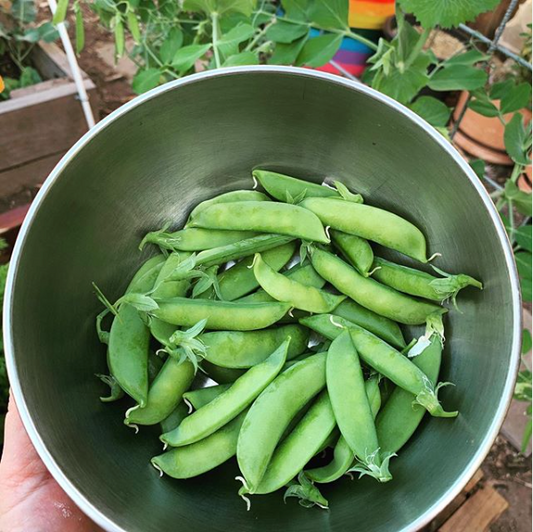
- Beans/Peas - plant direct, water once and wait for germination
- Corn - plant direct, water once and wait for germination
Things I wouldn’t recommend for newbies:
- Capsicums, Chillis, Eggplant - THEY CAN TAKE FOREVER
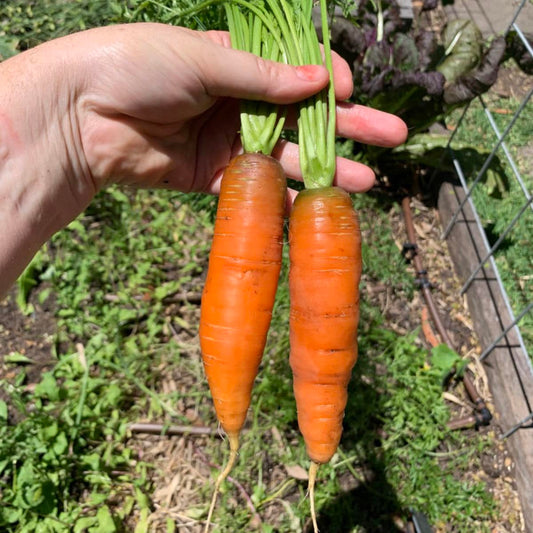
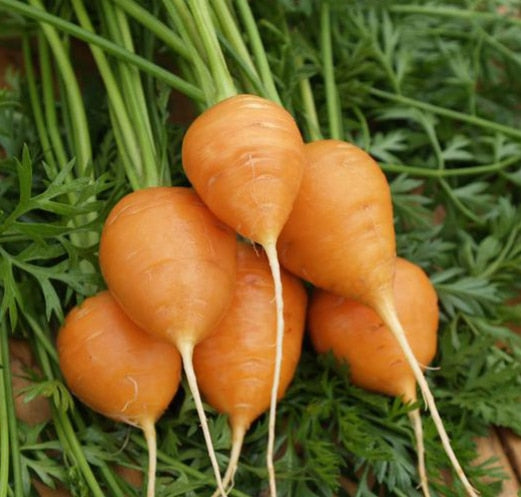
- Carrots - need constant moisture until they germinate and you have to plant them direct
- Celery - one of the hardest plants to grow from seed, they actually need sunlight
The best seed raising setup
You can raise seeds mostly anywhere with a bit of shelter and sunlight. Finding the right balance will be a bit of trial and error.
Key requirements for a seed raising station:
- Direct sunshine - but not too much (early morning is best or in a shade house)
- Protection from the elements (hail, frost)
- Good Air flow to prevent disease
Before we setup our shade house, my old setup was just a bench under the eaves of our house that captured the morning sun. I’ve previously had them on a deck and also under a tree with dappled sunlight.
If you have a sunny window sill that gets the morning sun, you can raise them inside. However it needs to be direct sunshine or otherwise your babies will become ‘leggy’ as they reach for the sun, which in turn makes them quite fragile. Avoid western sun as it’s too hot. You’ll also need good airflow as well so make sure you can crack a window.
If you’re growing in a shadehouse I’d also recommend a lighter shade cloth 30-50% to prevent them from getting too leggy. Often the mini shade houses you can purchase are far too dark for seedlings and they will fail miserably.
If you’re in a cool climate you may also want to look at the protected glasshouses that usually have a plastic or glass cover to create humidity. We don’t need that here in the subtropics, in fact I’ve found using these in the warmer months can actually cook baby seedlings, but you will need to keep your babies free from frost and also protected from major down pours of rain and hail.
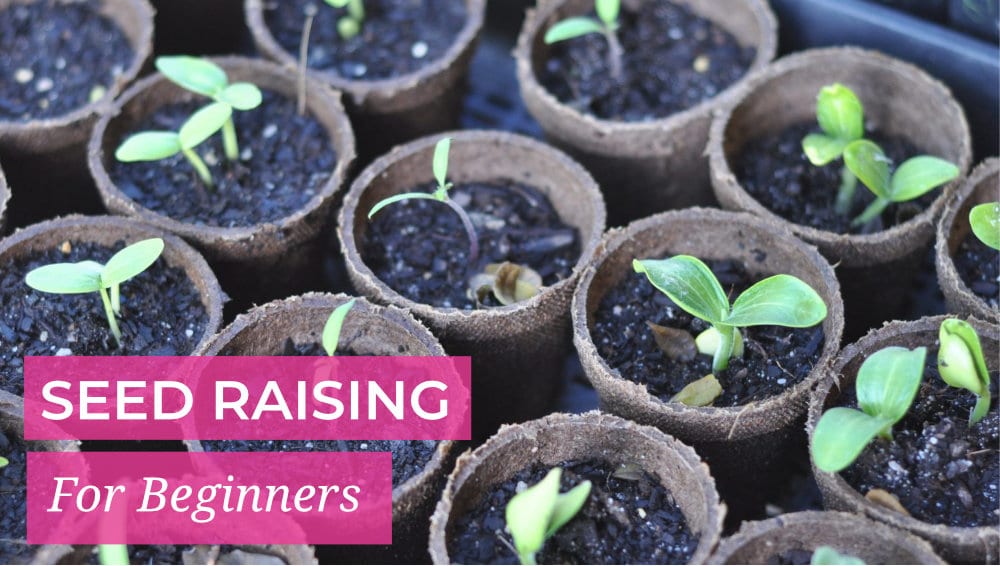
The pots / containers
I am big on recycling what you have. If you’ve been purchasing plants before you’ve probably got a stash of old pots lying around, use those first just sterilise before reusing to stop disease. These last forever!
You can DIY your own newspaper pots using pot makers or origami if you’re creative. Have a play with the different methods and see what works for you. We now use seed blocking for our seed raising.
I have found that toilet paper rolls and egg cartons are just too thick they either don’t allow for proper drainage or they dry out too quickly. I also find that the peat pellets are a waste of money, but I do like the preformed pots where you fill with your own mix, especially for plants I am giving away. I do however still need to peel off the pot before transplanting.
To plant direct or raise in pots
I will plant direct if:
- The seeds are big (beans/peas/corn/sunflowers) OR
- Root crops that don’t handle transplanting (particularly carrots)
- Fast growing greens like asian greens or rocket
I will raise seedlings in pots if:
- I don’t have space or time to plant direct
- Precious seeds that I want to give the best start
- Plants that I want to get quite large before planting in the garden.
Always check your seed packs to see what they prefer, some things just don’t like being transplanted. Some things need a little TLC and time to get going before being thrown into the big bad world.
What's inside a good seed raising potting mix
Start with a good free draining, obstruction free seed raising mix. If you’re looking for organic – then I have a seed raising mix recipe inside Dirt Lovers. In terms of commercial mixes, most work great (although difficult to find organic mixes). The main difference between commercial seed raising mix and a potting mix is the larger chunks have been removed, there is more ‘moisture holding’ media such as coco coir and not as much fertiliser.
How to sow your seeds
- Always start with damp seed raising mix
- As a general guide plant your seeds about 2 x the size of your seed deep, you can use a dibber to measure exactly or use the end of a pen or your finger like I do. Check your seed pack for instructions as some seeds need light to germinate and some need darkness too.
- plant 2-3 seeds per hole
- If more than 1 seed germinates, sacrifice your weakest one by cutting them off as opposed to pulling as that may damage the roots of the one you want to keep. You can use these as microgreens in salads (just not your nightshade family)
- Label them! Nothing worse than forgetting what you've planted (we just cutup milk cartons and use a sharpie to label our seedlings)
Some seeds also need soaking in water overnight, some hard seeds will also have better germination rates if you damage the outer coating (blue butterfly peas and also luffa are ones we do this to).
Looking after your seedlings
Watering
Keep your soil moist but not soaking (it must not dry out completely). It is a tricky balance. I find the best way to do this is to water from below. We have a tray that has around 1-2cm of water in the base, I then pop the seed trays in this and leave them for a few hours (or overnight) to soak up the moisture from below. Two reasons for this, one you’re not accidentally washing away your seeds, but it also stimulates the growth downwards for better root development.
For bigger seeds I water once and then leave them until they germinate. You don’t want to risk the seeds becoming waterlogged and then rotting before they germinate. Beans, corn, peas and some squash are notorious for doing this.
Fertilising
As seed raising mixes generally have minimal fertiliser once your baby seedling has grown it’s first true leaves it will need a bit of help. You can either repot it into a potting mix with more nutrients or you can start feeding them with a diluted liquid fertiliser. We usually do the latter and use a diluted dose of Seaweed solution or worm casting tea to give them a boost.
When to plant in your garden
For most of my seedlings I leave my seedlings in pots until they have their first true leaves (basically the 3rd and 4th leaf) and I feel like they are big enough to withstand some transplanting. All plants grow at different rates so there is no set timeline but use the size of seedlings you purchase as a guide, zucchinis I would plant as soon as the true leaves appear which can be as little as a week, lettuce I don’t normally plant out for at least 4-6 weeks and onions I wait months.
I hope these tips helped for you and if you’re still feeling stuck I do have a mini online course on seed raising inside Dirt Lovers Membership or you can grab my ebook on seed raising here.
And don’t feel bad about going and buying seedlings. Do what works for you.
Let us know below if you've had problems seed raising in the past and if you've conquered it?