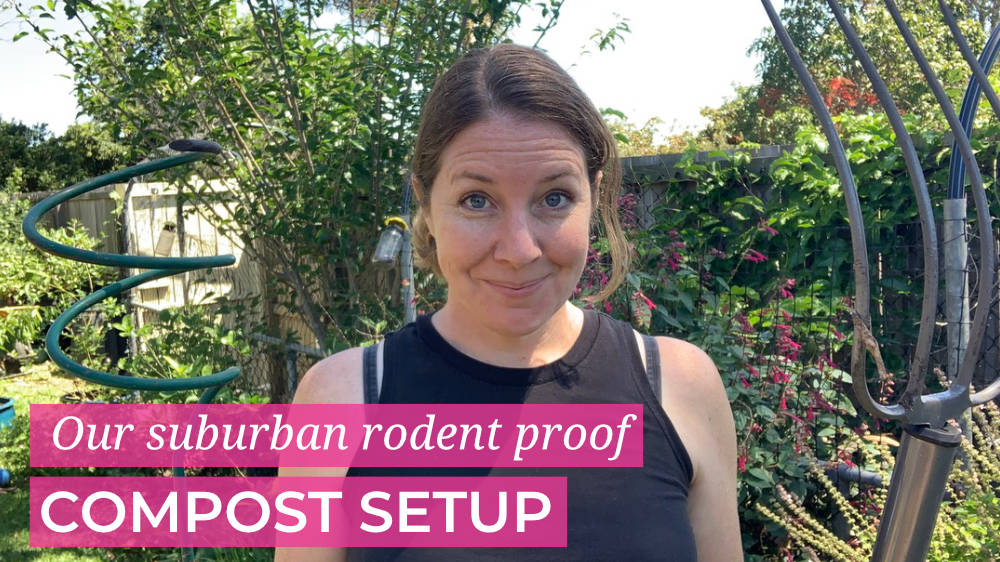
Our compost setups have evolved over the years, but a main priority has been to keep rats out (and also inquisitive beagles). We've had tumblers in the past but found them too heavy and the compost quality was lacking. Our current setup includes a few solutions that help keep the rats away.
Video of our current setup and the tools we're currently using
Composting Methods we use
To be honest I used to be very picky with what went in my compost. The main reason was to keep the rodents away. We try not to give the chickens too much in the way of scraps to avoid rat populations exploding. Now we use a few different methods to achieve this.
Bokashi
I resisted bokashi for a long time because the thought of buying the inoculated grains was off putting to me. However, since having kids (who love to waste a ridiculous amount of food and also tend to carry the plague from kindy), I moved to using bokashi. We have 5 small bokashi buckets that we use and rotate. Once one bucket is full and fully inoculated, we allow it to ferment for 2 weeks before either adding to our regular compost bin or burying in the garden. Bokashi is great as it can take the food that we wouldn't normally add to compost bins including meat, fats, dairy and grains.
Worm farm
Worms are still my number one choice for composting, but they can't handle a great deal of food and you have to be super careful about not overloading them with acidic foods (ie. Onions, tomatoes, citrus). We will generally give our worms our coffee grinds and fresh veggie scraps. I am now blending the food up to help them process the waste faster but they still can't handle the bulk of what our garden produces and food waste.You can find out more about our rodent proof worm farm here.
Compost bin
Our stock standard bin is a tumbleweed 150L compost bin. It has an open bottom with no holes to allow rodents or inquisitive beagles to get into it. It's small enough to fit in our small space as well as place in garden beds for insitu composting. The trick to keep the four legged furry creatures out is to bury it 10cm deep and ensure the bottom layer of your bin is browns first. It has a lip that prevents them getting into the bin when they dig down. So far it has worked well, in only one instance have we had rodents inside the bin and that was when Ieft a cane toad inside the bin and it burrowed out creating a tunnel into the bin. I have seen people line their bins with wire mesh but I have that unnecessary.
The downside to this bin is it's likely not big enough to really get a hot compost happening (which is probably why I tend to fail on the hot compost front). You can get bigger bins in this style but I find them a bit too big for our space.
Compost Monitoring
We've always used a compost thermometer for our piles but recently the guys from Monty compost have sent us one of their monitoring devices to try out. This device monitors not only temperature but also aeration, moisture and your carbon to nitrogen ratios. I am still yet to really try out the monitor but so far it has been a lot of fun. Ideal for compost newbies and also those stat nerds like me. You can also get the app for free even if you don't have the monitor and manually log what you put in your bins. If you'd like to try it out the guys have sent me a coupon code to get 10% off. Just add coupon code NICKIMONTY22 at checkout. Check them out here.
Tools for aeration
There are two main tools we use for aeration of our compost bins. A standard garden fork - particularly when things are compacted and also a compost aerator - which looks like a big corkscrew. Turning compost can be hard work when the bin is full, but the key really is to make sure you turn regularly so it's not as hard. We have got into the habit of ensuring our compost is turned every time we add new items to the bin.
How we do it
We mostly cold compost, mostly because we add stuff to our pile when we have it. We add our greens (nitrogen - Kitchen scraps/garden waste) and match that with browns (carbon -mulch/dried leaves). It's best to follow your nose, if it stinks we turn it and add more carbon. If it's dry we add water. Our pile sits at a temperature around 50 degrees but often doesn't sit at the optimal temperature of 65 degrees for very long which is often because we don't have the mass of the pile. You can find more tips here on composting.
Need help getting your compost in order?
Come join us inside the Dirt Lovers Membership. Inside you will find loads more information on helping you setup your suburban compost systems.