Listen to the podcast
Growing food is fast becoming a lost art. It's feared, it's unknown, it's challenging, it's rebellious. But it doesn't have to be hard.
Join me in the Love of Dirt podcast where we explore topics around growing food, fair food and sustainable living.
This past week we made a raised bed and shared a timelapse of us building it and filling it. It went a bit nuts on social media and we had loads of people commenting on my technique of filling it.
https://www.instagram.com/p/ByRpt41g7dA/
I’ve filled my fair share of raised garden beds and I've got my technique down pat.
However when I made my first raised beds I made a rookie mistake. I bought the cheapest soil mix I could find just to fill the thing, I think I was paying $2 a bag from the cheap shops.
Everything I planted just basically turned yellow and died.
When ever I see people loaded up with a specific potting mix I want to run over to them an warn them.
The second time around, I went to the landscape suppliers and bought the best veggie patch mix you could get. I think we paid around $300 to fill two beds.
Same thing happened.
It took around 6 months with loads of other inputs for it to come good.
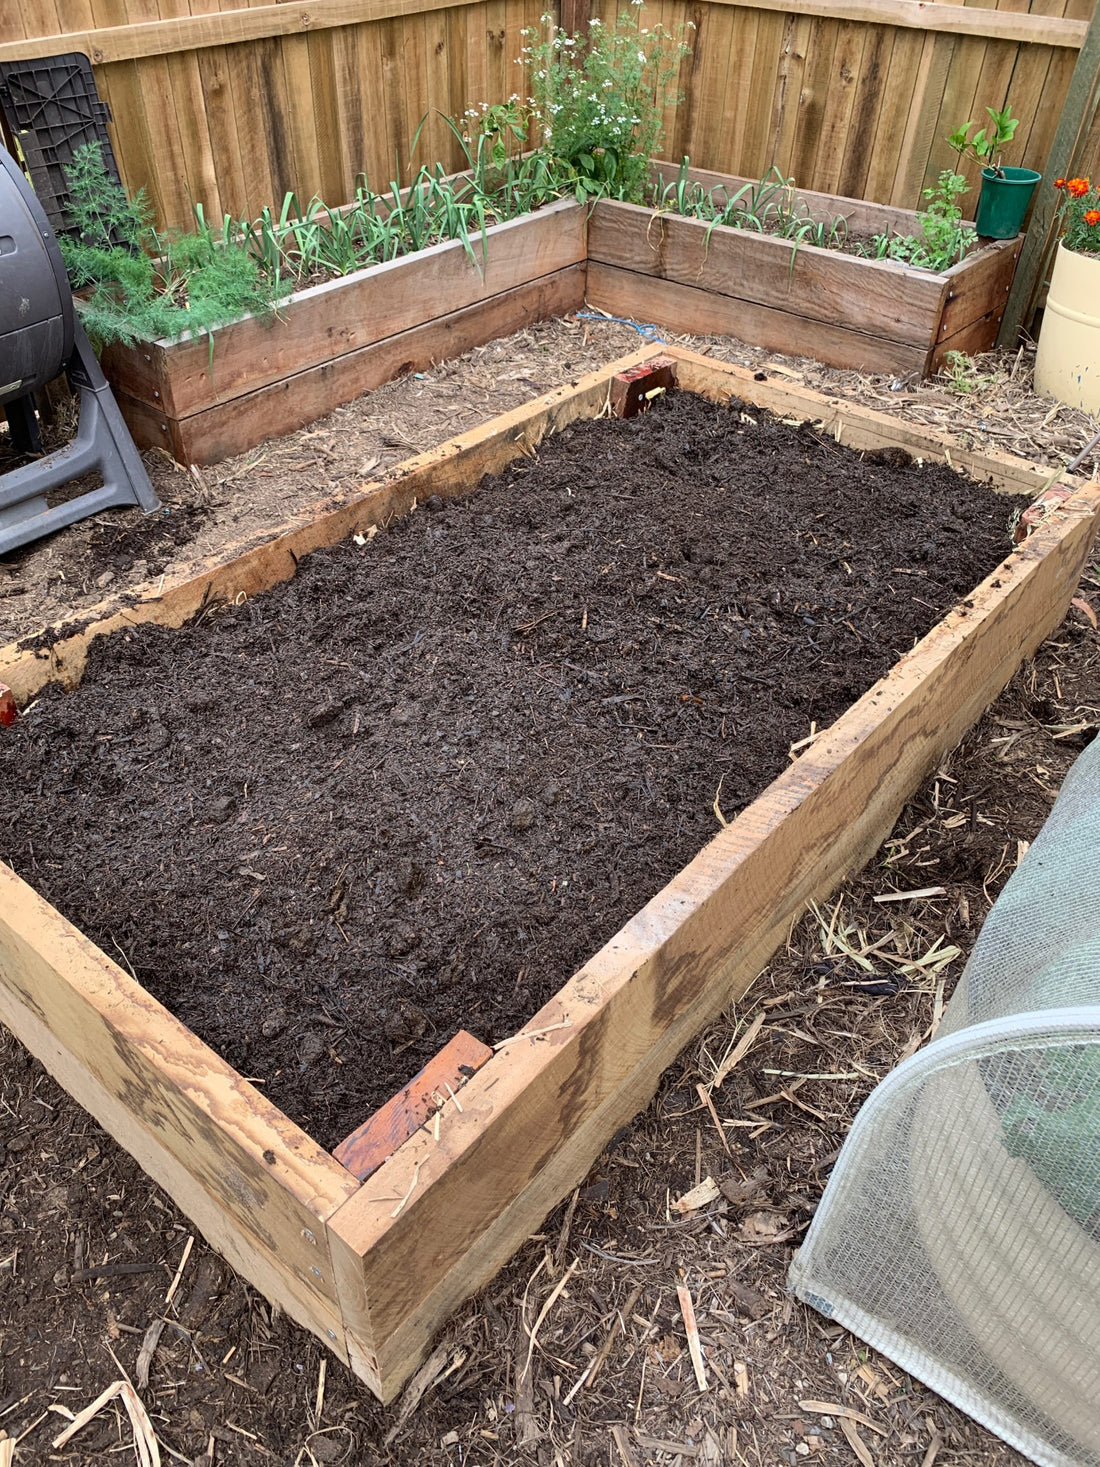
Now I want to share with you how I fill my raised bed so they are ready to roll.
My lasagne method
I use a method called the lasagne method, many people have very different techniques but I’ll share what I do which is layers of organic matter, compost and manure.
In the base if I am planting direct onto grass I’ll start with a layer of cardboard. If there are trees nearby I may also turn it into a wicking bed or use geofabric to stop them sucking the life out of the bed.
Then I will go around and do some garden pruning. I’ll pop all these pieces - the big branches in the bottom of the raised bed. For our garlic beds I used all my sunflower stalks.
From there I layer with home made compost, then a layer of cane sugar mulch, then a layer of manure, I keep layering with around 2 cm of each in depth with the final layer being well rotted compost. I add a little sprinkling of my goodie mix on top of the compost - just not the top layer. My goodie mix is my secret sauce and reserved for my dirt lover members but it’s basically a mix of trace elements to give the patch a boost.
The bottom layers of compost can be not quite ready. By the time your plant roots reach the base they should be all ready to go.
Of course the key to keeping the cost down is having access to home made compost and manure. I use a mix of well rotted chicken manure or horse manure from my hubbys uncles horses or my dad will bring me some sheep poo occasionally. Sometimes I’ll pay $2 for a bag of cow poo from some nearby hobby farms.
If you don’t have access to these things you can still do this method with commercial compost and manure. And to keep costs low you can use the cheaper compost mixed with the premium stuff. A good variety of brands is going to make sure your bed is well balanced.
If this is still out of your budget, take a look at straw bale gardening. This is a new method I’ve started using in areas where I want to build up new garden beds.